Media Publishing Quickstart
This guide covers the complete path from a media file on your computer to content playing on a display: upload the file, group it into a playlist, place the playlist in a schedule, and publish the schedule to a device group.
- A display registered and approved on the server. See Connecting a device to the server.
- Media files in a format the player supports. See Supported file types.
Step 1: Upload your content
Sign in to the MagicINFO Server web console and open the Content page from the menu on the left.
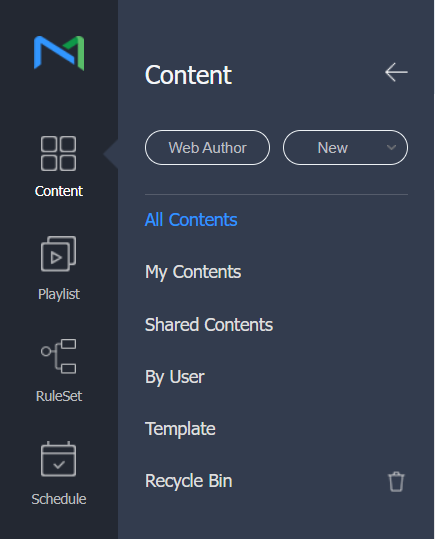
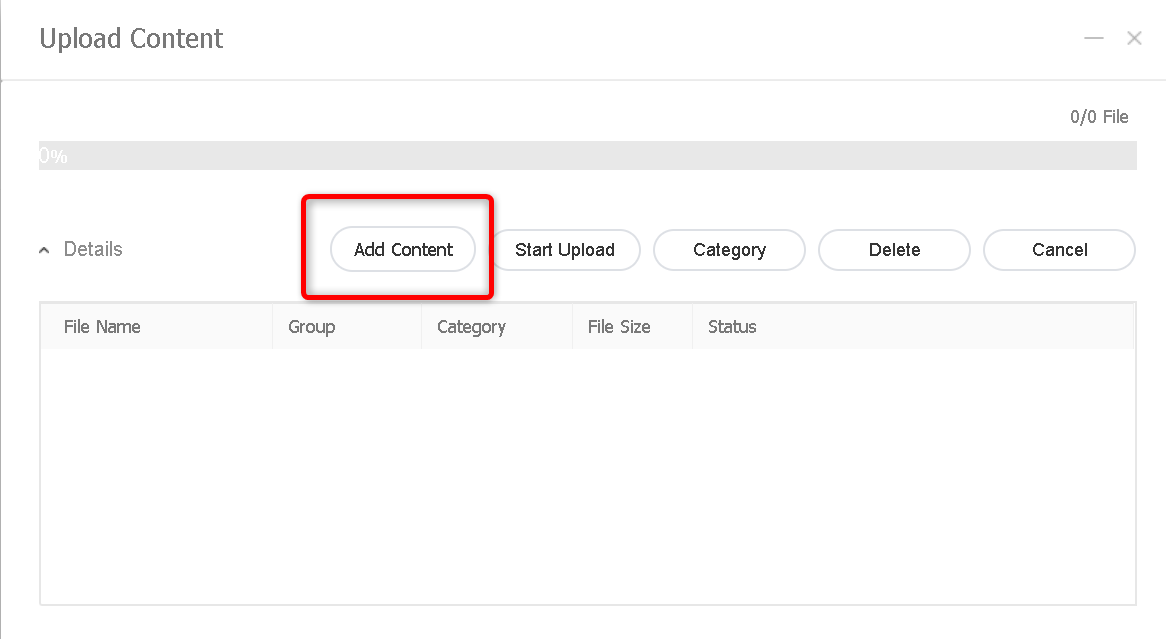
Click New and choose Upload Content. In the dialog that opens, click Add Content, browse to the image or video files on your computer, and confirm.
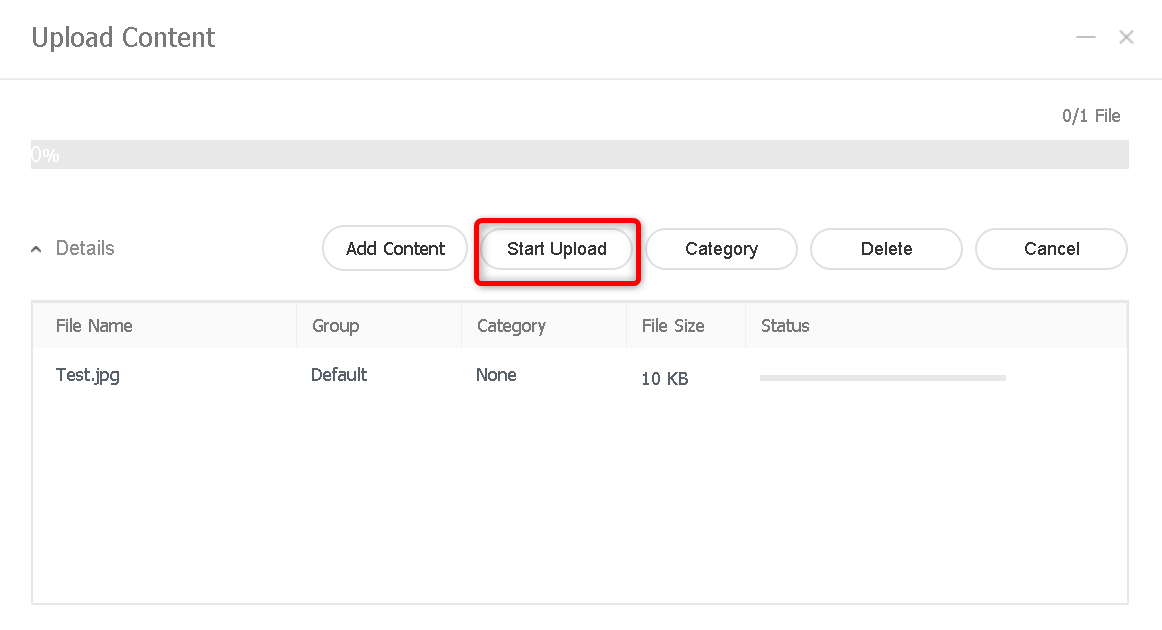
Click Start Upload to transfer the selected files to the server.
When the upload finishes, close the dialog. The files now appear in the content list, ready to be used.
Step 2: Create a playlist
A playlist groups content items and defines their playback order. Open the Playlist page from the left menu and click New Playlist.
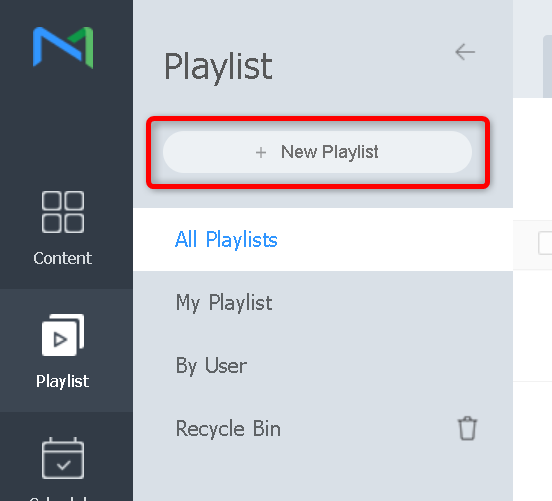
Select the player type that matches your device, set the playlist type to General, and click Create.
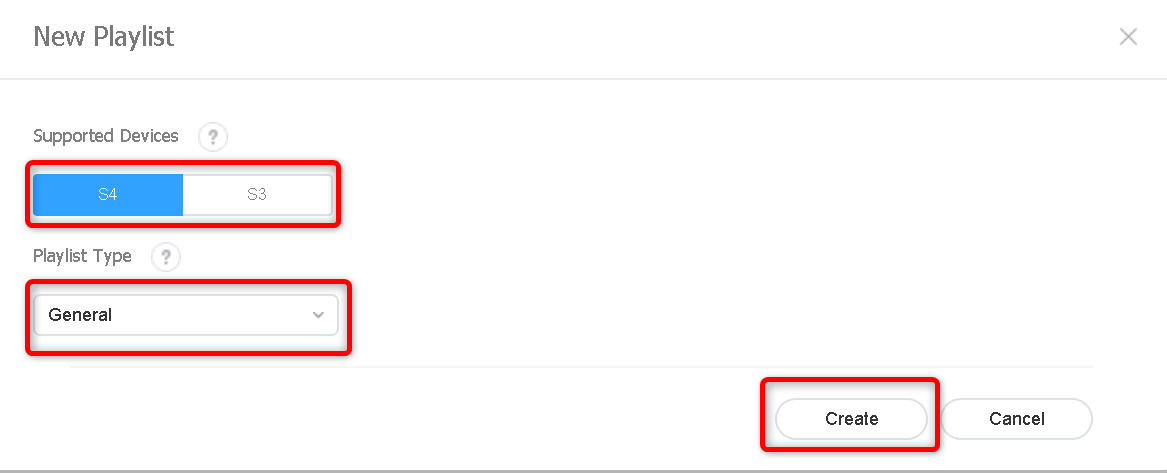
The playlist editor shows your uploaded content items in the left pane. Move the items you want to play into the right pane.

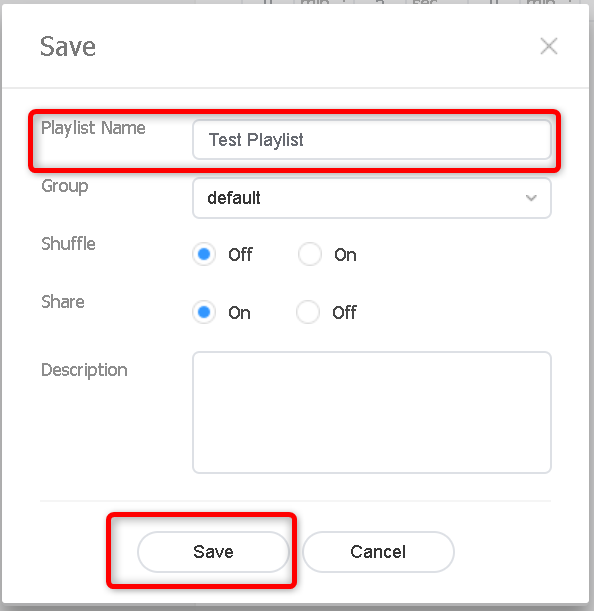
Click Save, enter a name for the playlist in the pop-up, leave the remaining settings at their defaults, and confirm with Save. The playlist now appears in the playlist overview.
Step 3: Create a schedule
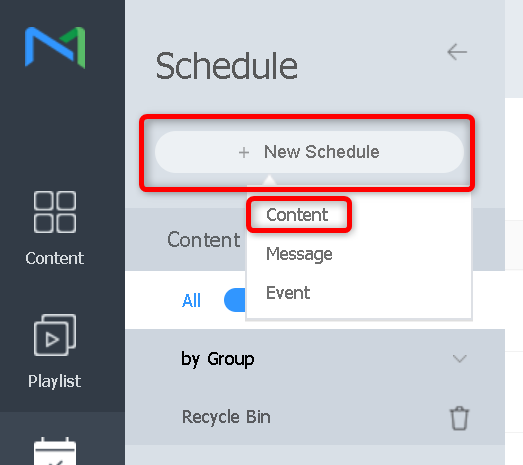
A schedule determines when the playlist runs and which devices receive it. Open the Schedule page, click New Schedule, and choose Content.
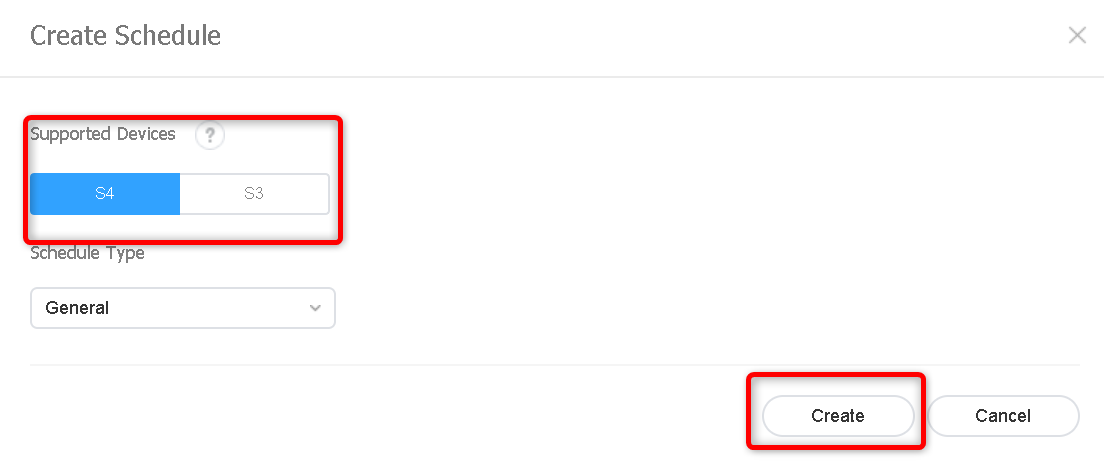
Select your player type, keep the Schedule Type set to General, and click Create.
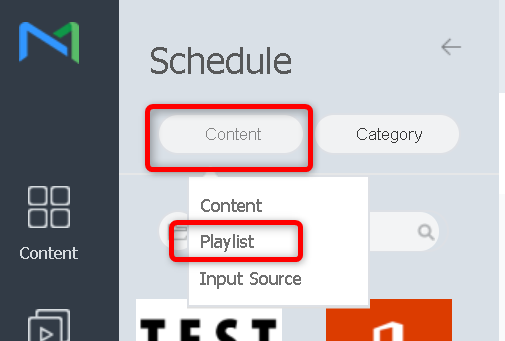
In the schedule editor, the left pane lists your content. Click Content, then select Playlist to show the playlist you created in step 2.
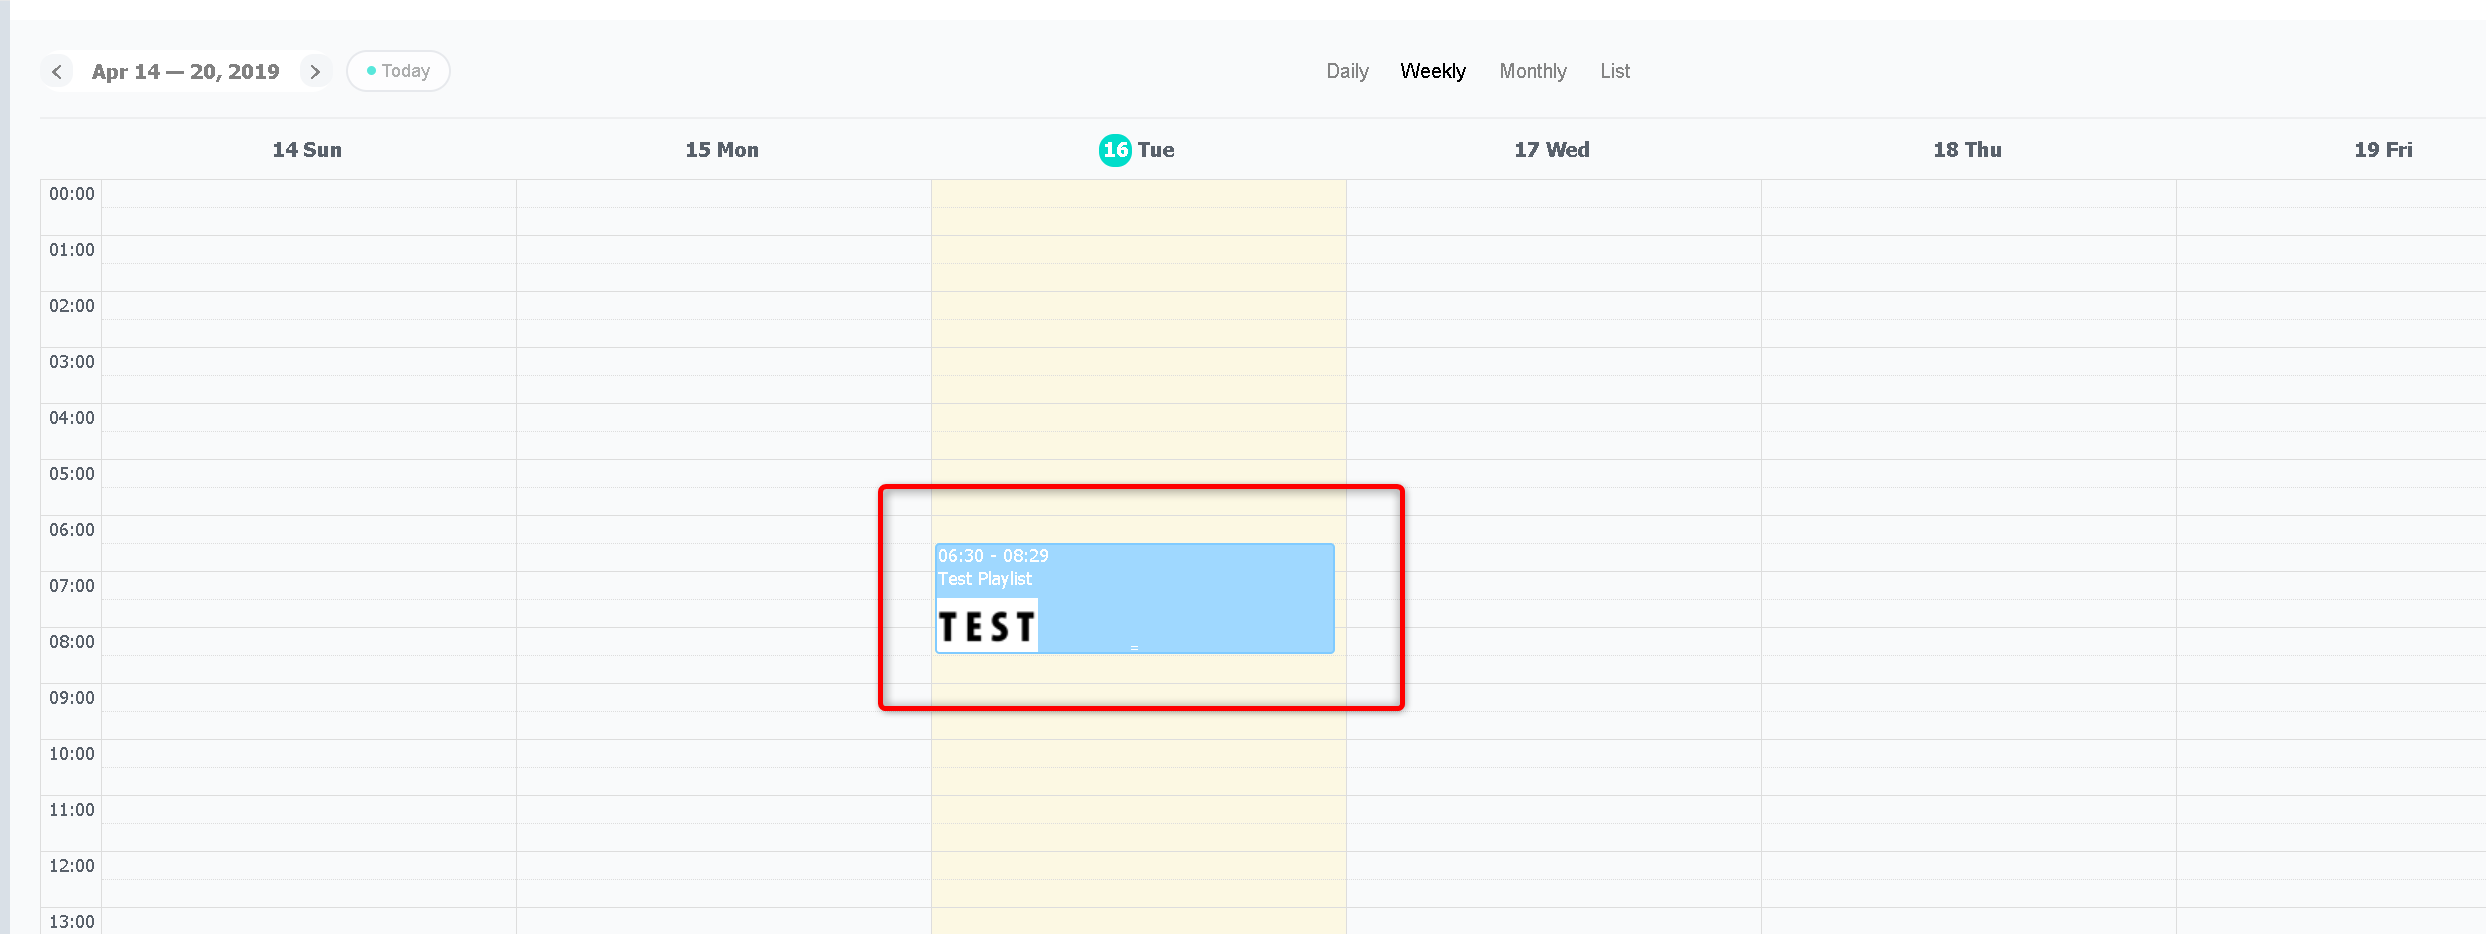
Drag the playlist from the left pane onto the agenda (the timetable in the right pane).
Click the item you placed on the agenda to set its playback window:
- Name — a recognizable name for the agenda entry.
- Play date — when the entry starts and stops being valid.
- Repeat — how often the entry recurs.
- Playback time — the daily time window.
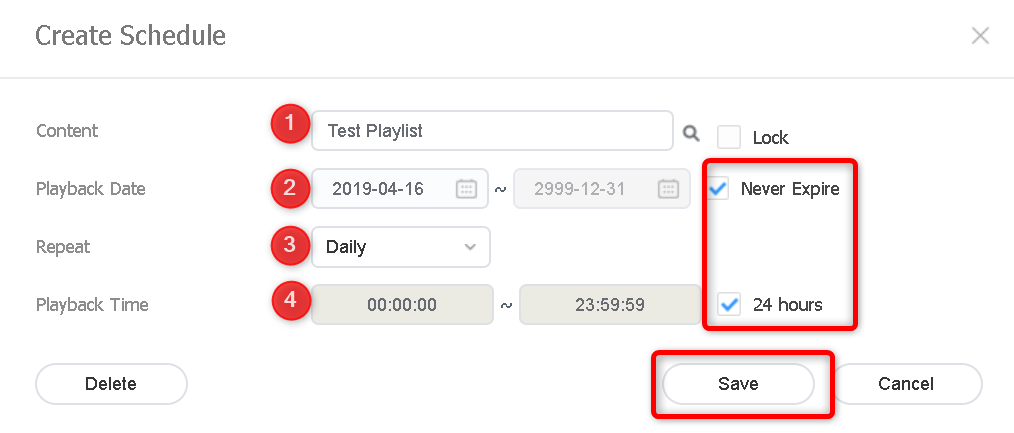
For signage that should simply run all the time, set the play date to Never Expire and the playback time to 24 Hours. The playlist then plays continuously every day.
Click Save in the settings dialog, and then Save again in the schedule editor.
Step 4: Publish the schedule
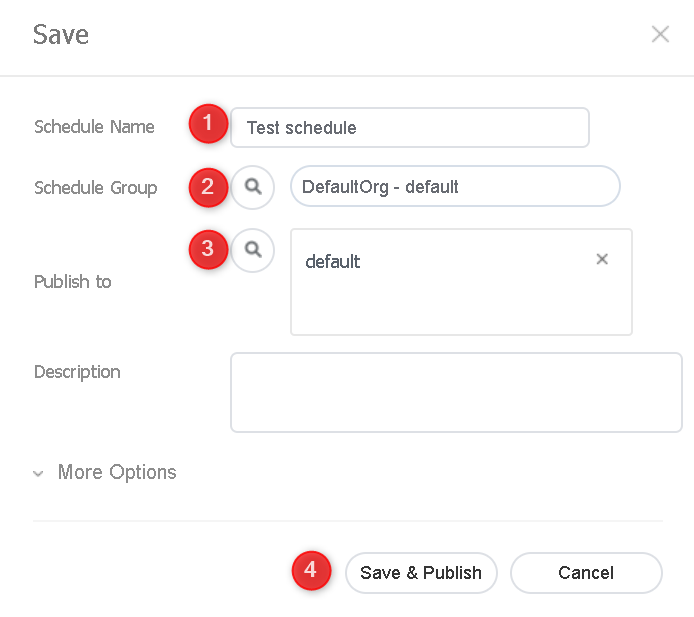
A final pop-up asks where to store and publish the schedule:
- Enter a clear name for the schedule.
- Choose the folder in which to save it.
- Select the publication target. Note that you publish to a device group, not to an individual display — every device in the selected group receives the schedule. A clear group structure makes this step much easier to get right.
- Click Save, then Publish.
Step 5: Wait for the download
The server now sends the schedule to the devices in the target group, and each device downloads the content. This typically takes around 10 minutes, depending on the size of the schedule and the device's network connection. Once the download completes, the content plays on the display.