Optimizing Video with HandBrake
Large video files consume server storage, slow down publishing, and take longer to download to devices. Before uploading video content, it is worth re-encoding it to a suitable size and quality. HandBrake is a free, open-source video transcoder that handles this well.
HandBrake reads almost any common video format — camera footage, phone recordings, screen captures, disc rips — and produces new MP4 or MKV files using encoders such as x264 and x265. Along the way it can:
- Convert nearly any video to MP4 or MKV
- Crop and resize the picture
- Remove combing artifacts caused by interlacing and telecine
- Remove, pass through, or downmix audio tracks
- Adjust audio volume levels and dynamic range for certain audio types
- Preserve, add, or remove soft subtitles
The result is typically a much smaller file with little visible quality loss.
Re-encode a video
- Download HandBrake from handbrake.fr, install it, and open it.
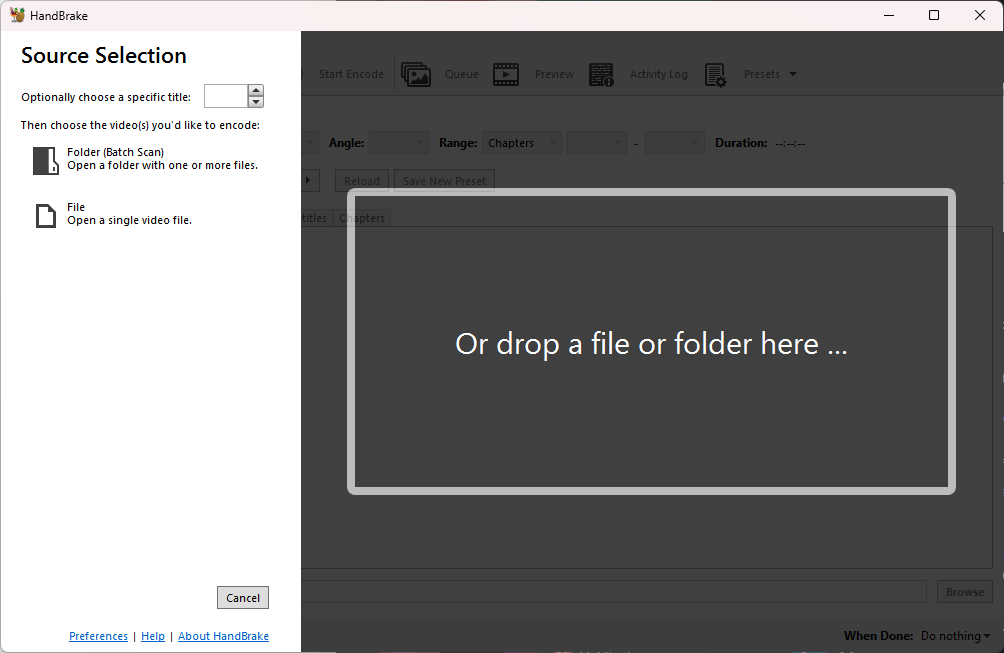
- On the Source Selection screen, click File and pick the video, or drag and drop the file into the window.
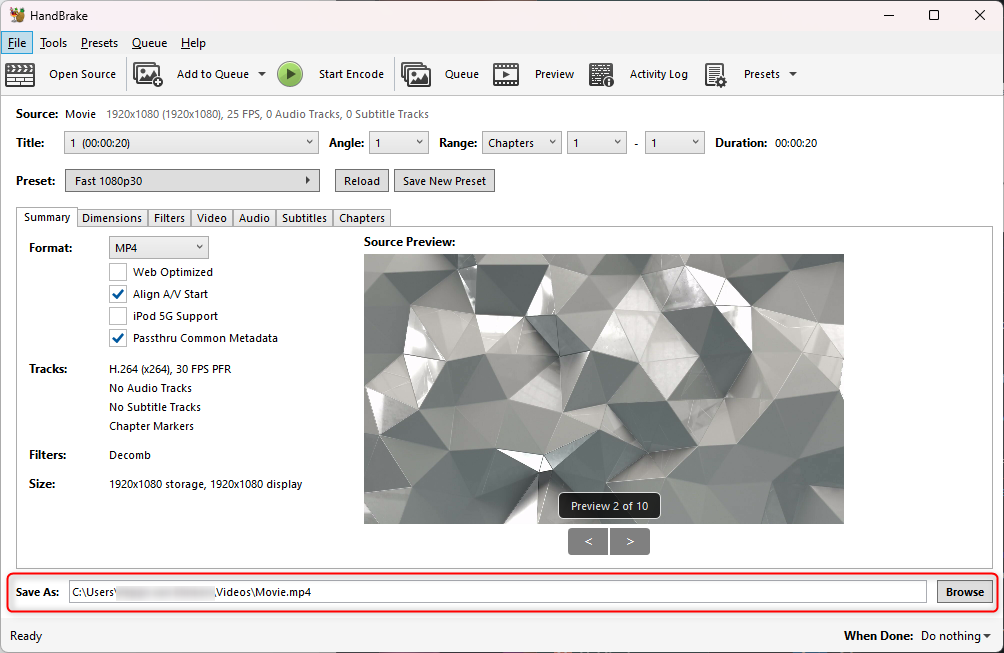
- In the Save As field at the bottom of the window, choose the destination folder and give the output file a new name so it does not overwrite the original.
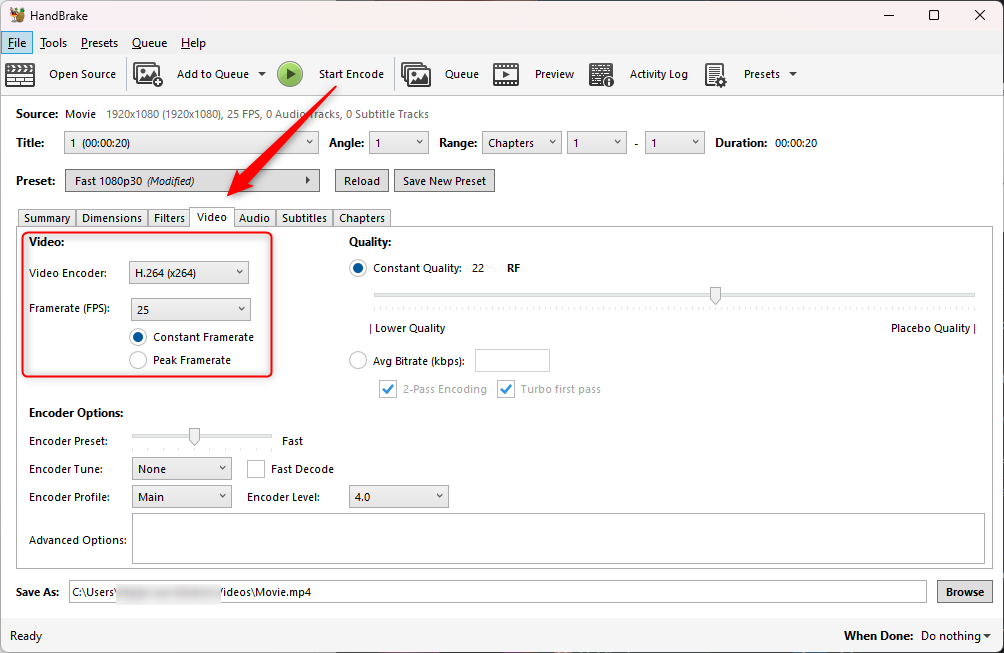
- Open the Video tab and adjust the output settings: the video encoder (for example
H.264 (x264)), the frame rate, and the Constant Quality slider, which trades picture quality against file size.
- If the content will play without sound, open the Audio tab and remove the audio track — this saves additional space.
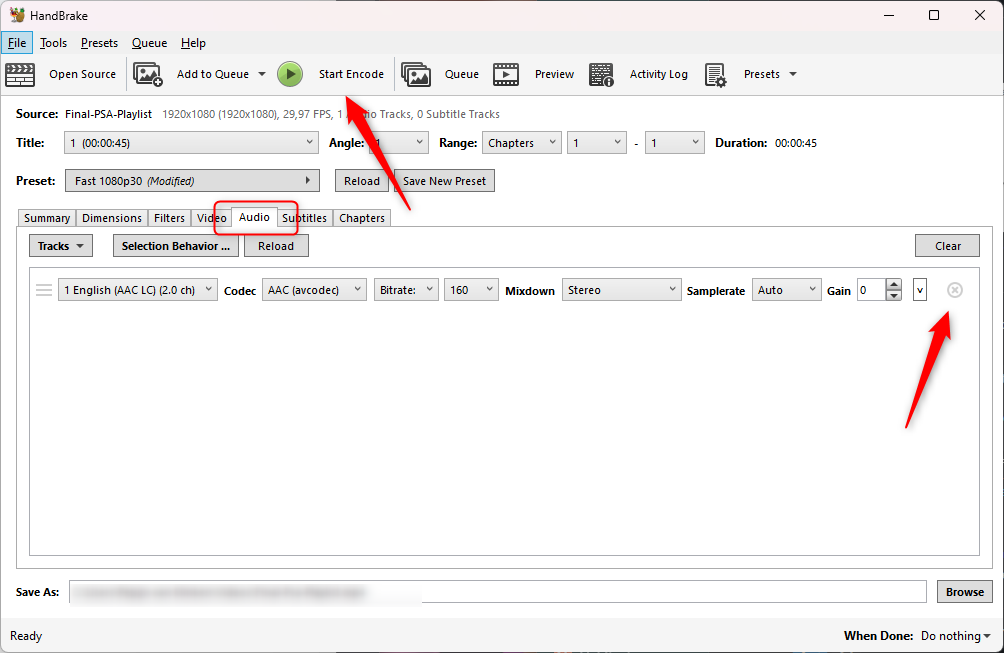
- Click Start Encode and wait for the encode to finish.
Check the result
Compare the output file with the original in the destination folder. In a short 1080p test clip, the difference looked like this:
| File | Size |
|---|---|
| Original video | ~30.5 MB |
| HandBrake output | ~9.5 MB |
Signage screens usually play video without sound. Deleting the audio track in HandBrake is a quick win that shrinks the file with no visible difference on screen.
Once you are happy with the output, upload it to the server as usual — see Step 2: Upload Content from Your Computer.