Background Music
A device can play an audio file in the background while a schedule shows visual content. The music is attached to the schedule itself, in the save options, so the visuals and the audio are managed independently.
Before starting, upload the audio file (and the visual content) through the Content menu — see Step 2: Upload Content from Your Computer. Only uploaded content can be selected as background music.
Attach music to a schedule
- Open the Schedule menu. Create a new schedule, or select an existing one and click Edit.

- With the schedule open in the editor, click Save in the upper-left corner. The save dialog opens with the schedule options.
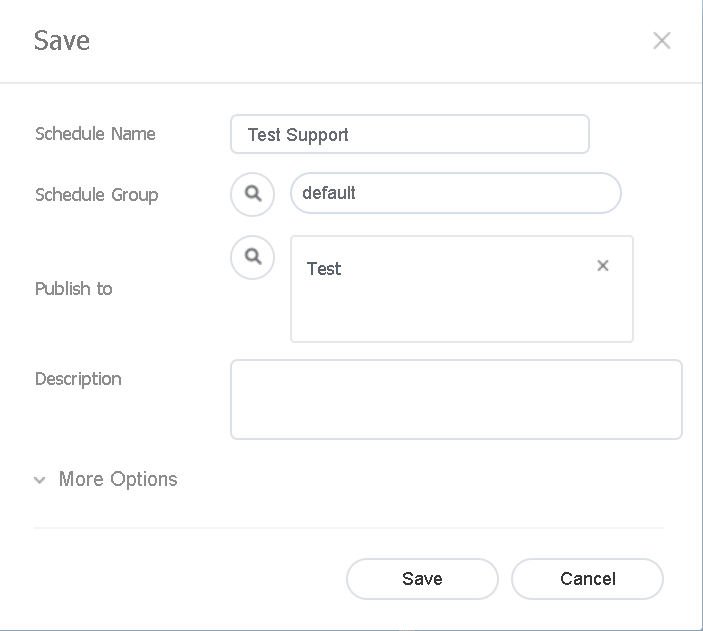
- At the bottom of the dialog, click More Options.
- In the expanded options, click the Background Music button.
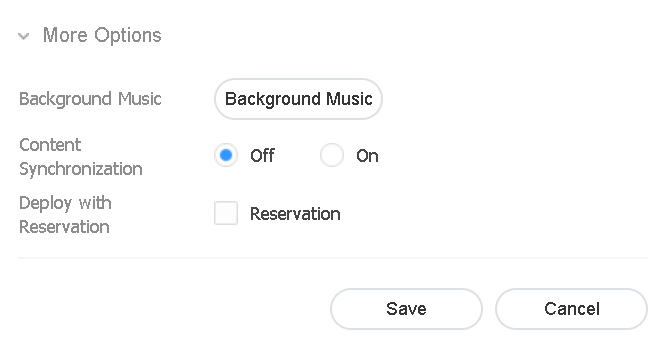
- The Select Content window opens, listing the audio files uploaded to the server. Click the file to use, then click Select.

- Save the settings and continue publishing the schedule as usual.
info
Only one audio file can be attached to a schedule, and it must be an uploaded file — streaming links are not supported.