Connecting a Device to the Server
A display can be pointed at a MagicINFO server in two ways: during the initial setup wizard that runs when the device is first powered on, or at any later time through the on-screen menu. Both procedures are covered below.
Before starting, make sure the display is powered and has a working network connection with Internet access.
During initial device setup
When a device starts for the first time (or after a factory reset), the setup wizard walks through the basic configuration. Complete the wizard as follows.
-
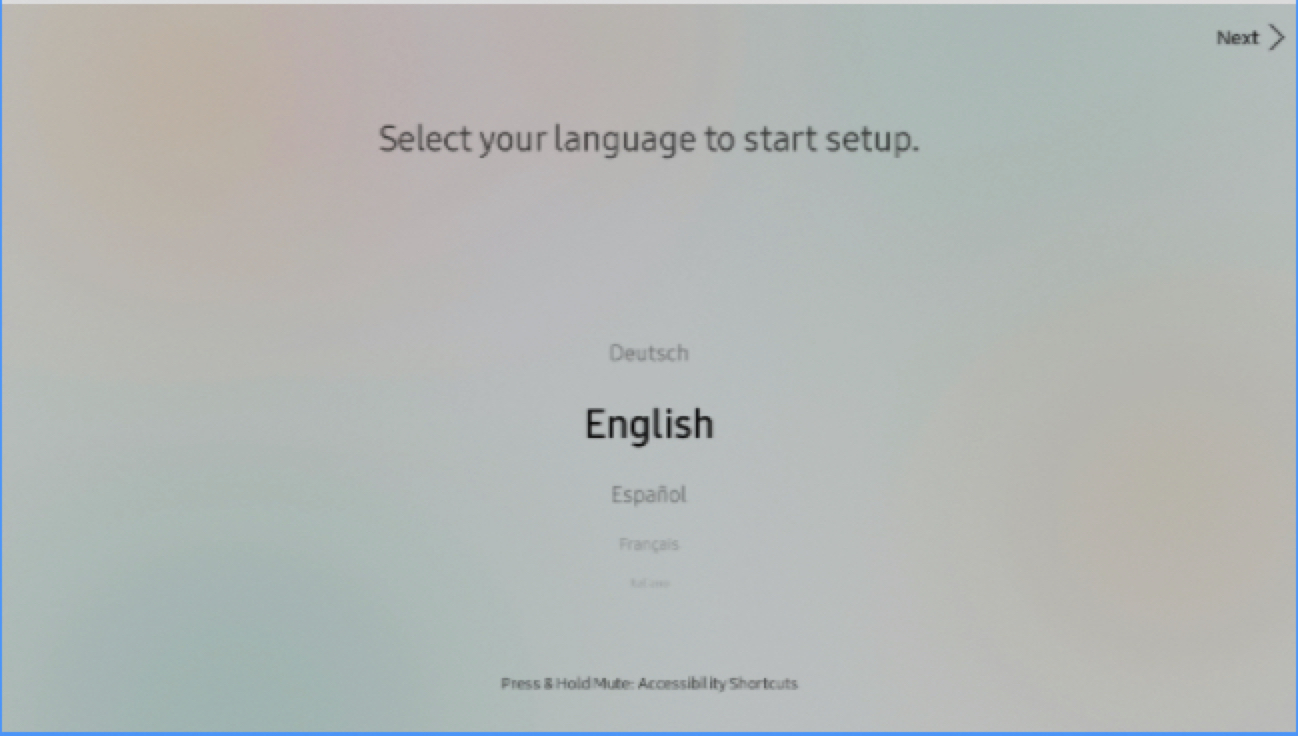
Select the menu Language.
-
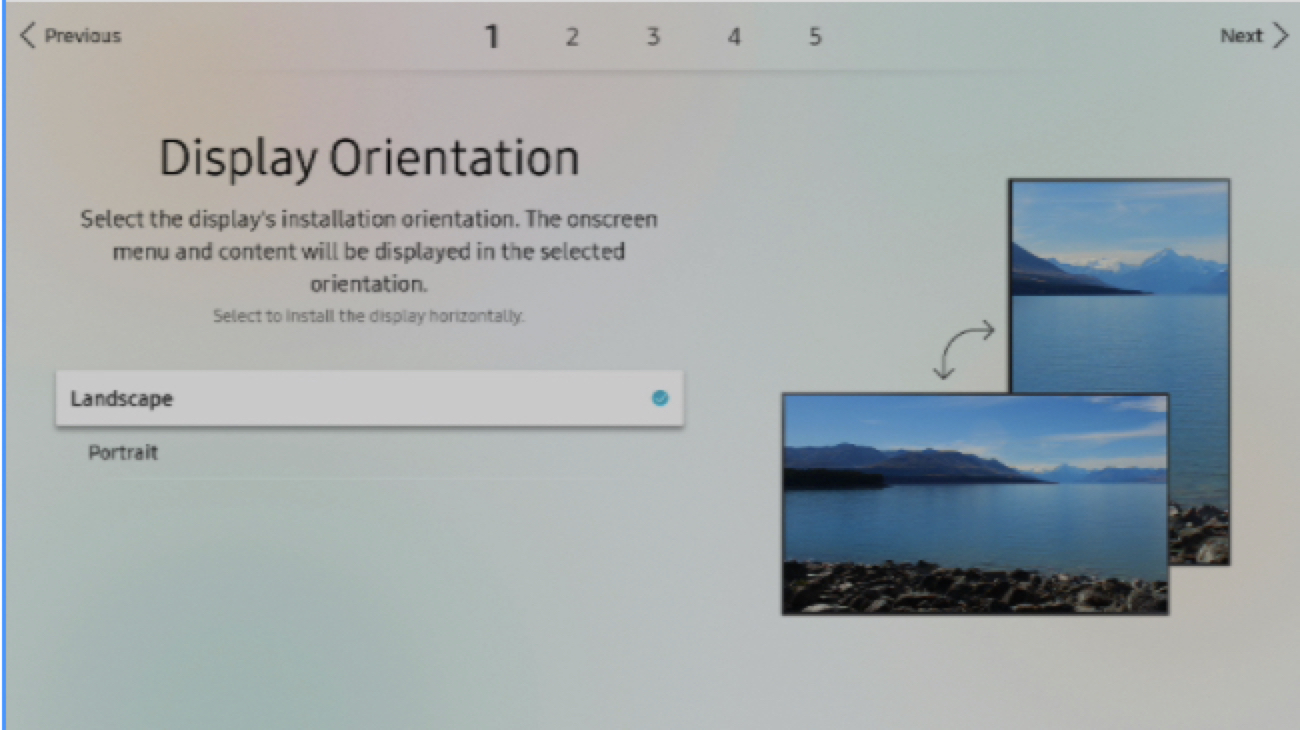
Set the Display Orientation (landscape or portrait).
-
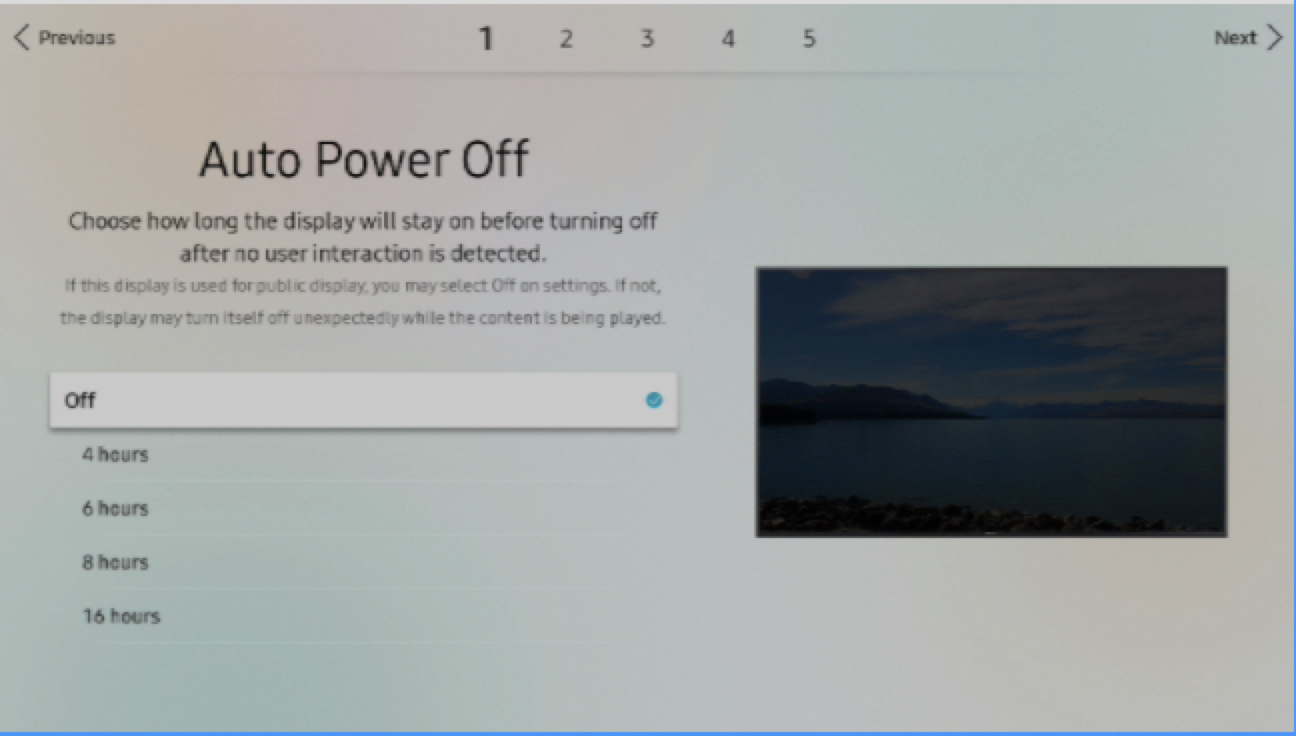
Set Auto Power Off to Off. This is recommended for signage use, so the display is not switched off automatically after a period without input.
-
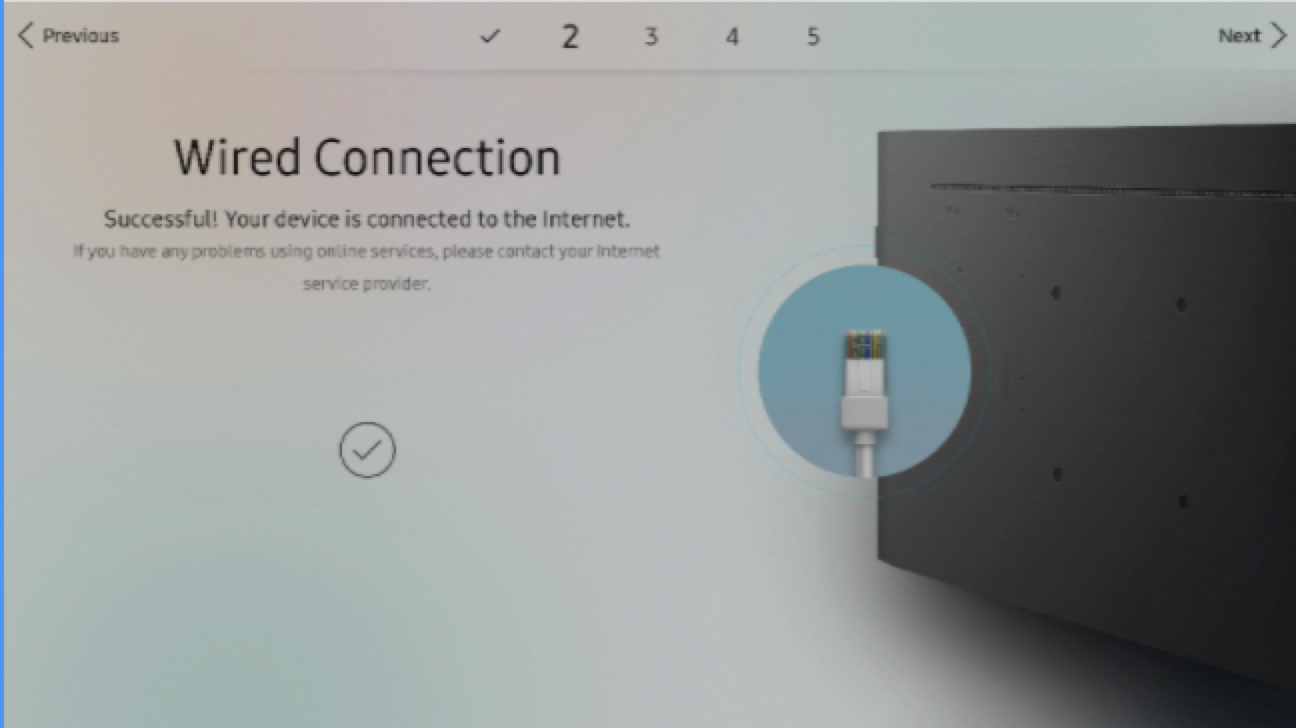
Configure the Network settings. A wired (cable) connection is recommended for reliability.
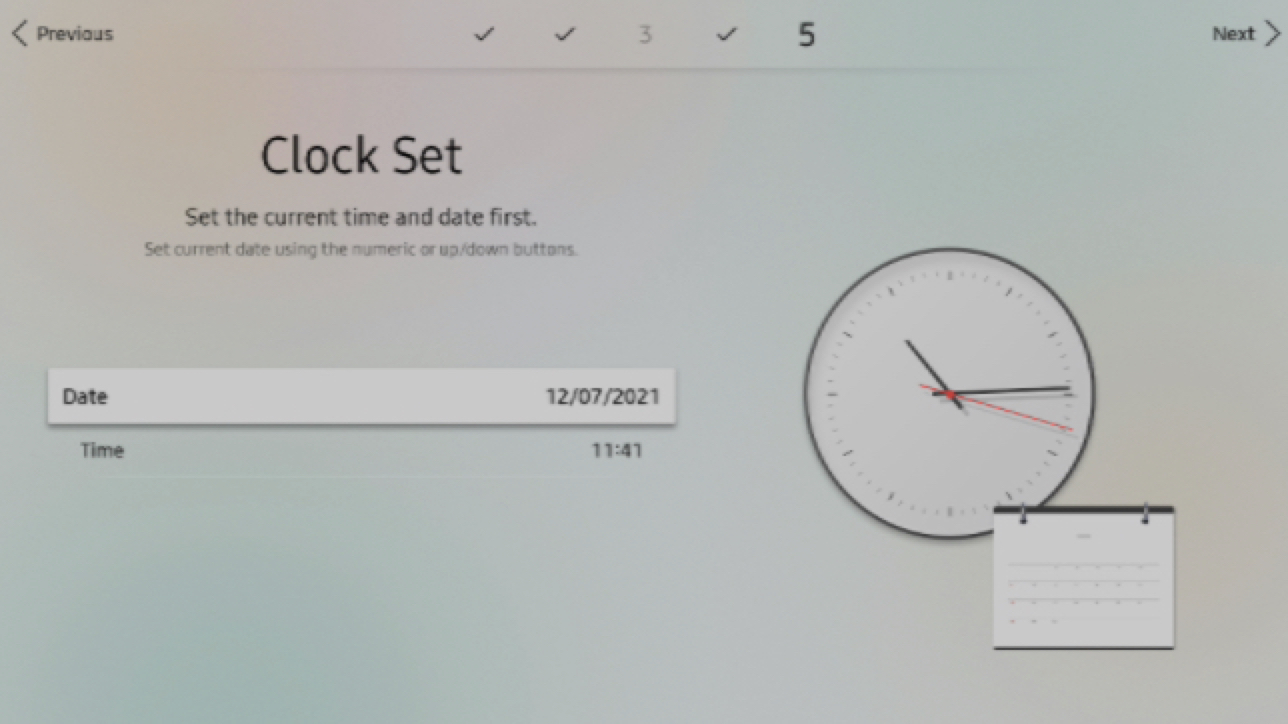
-
Set the date and time.
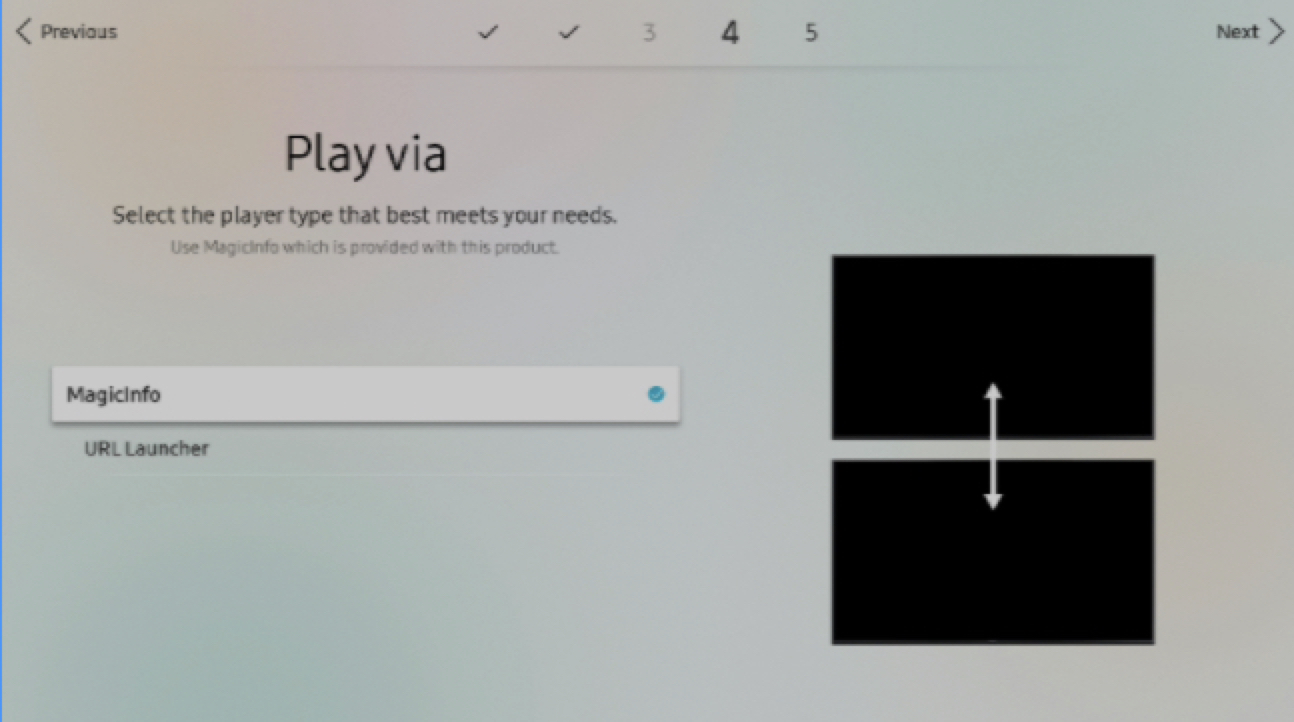
-
At the Play via step, choose MagicINFO.
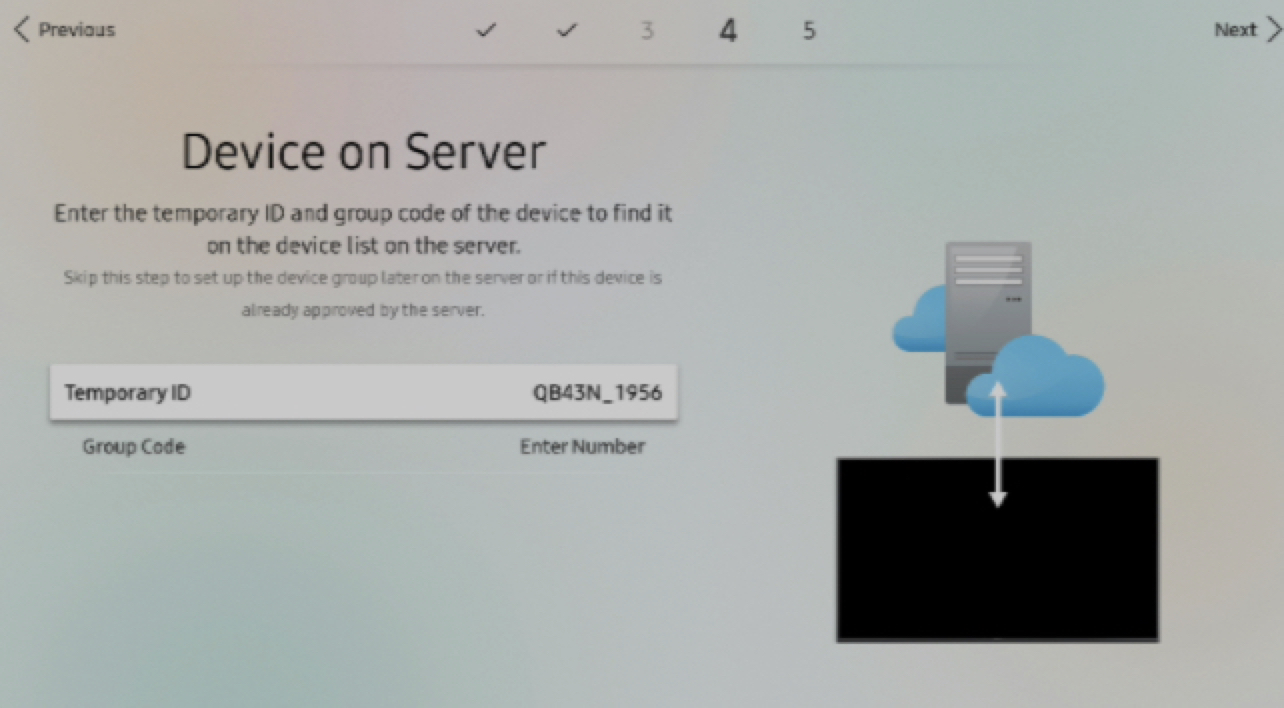
-
Accept the default Device Name or enter a name of your own.
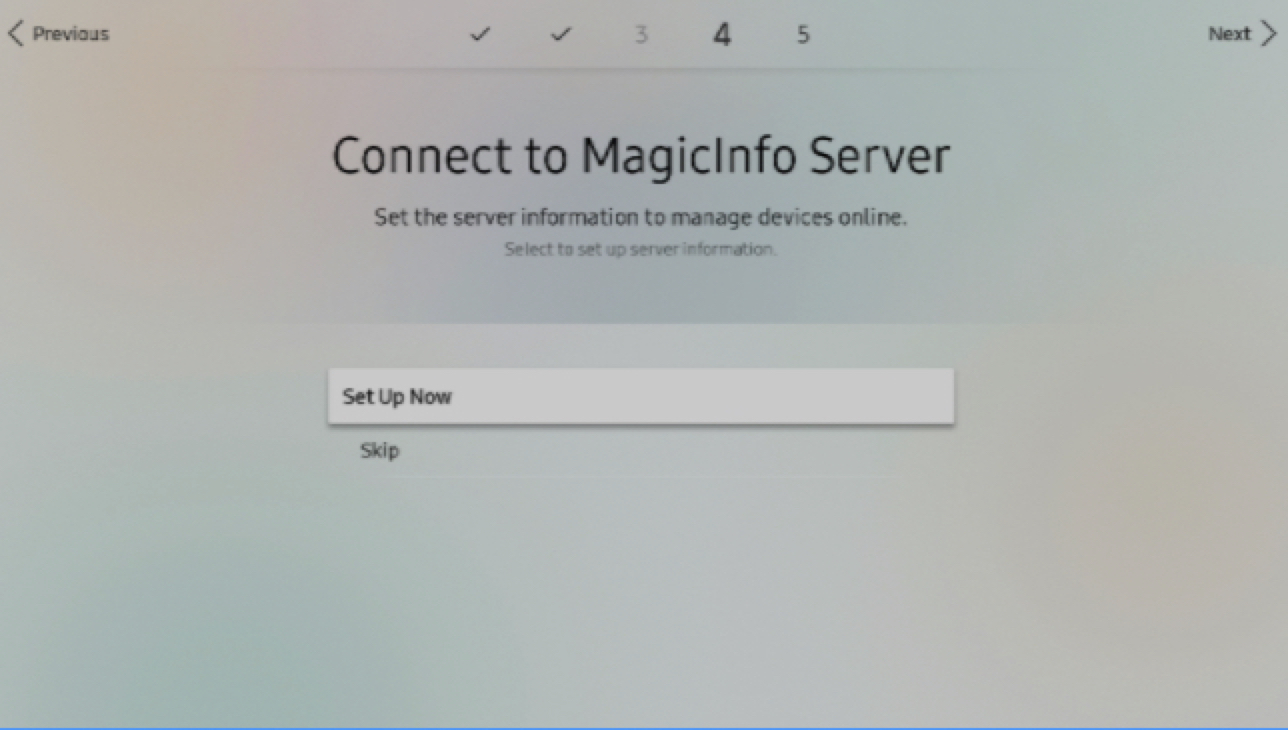
-
Enter the server connection details:
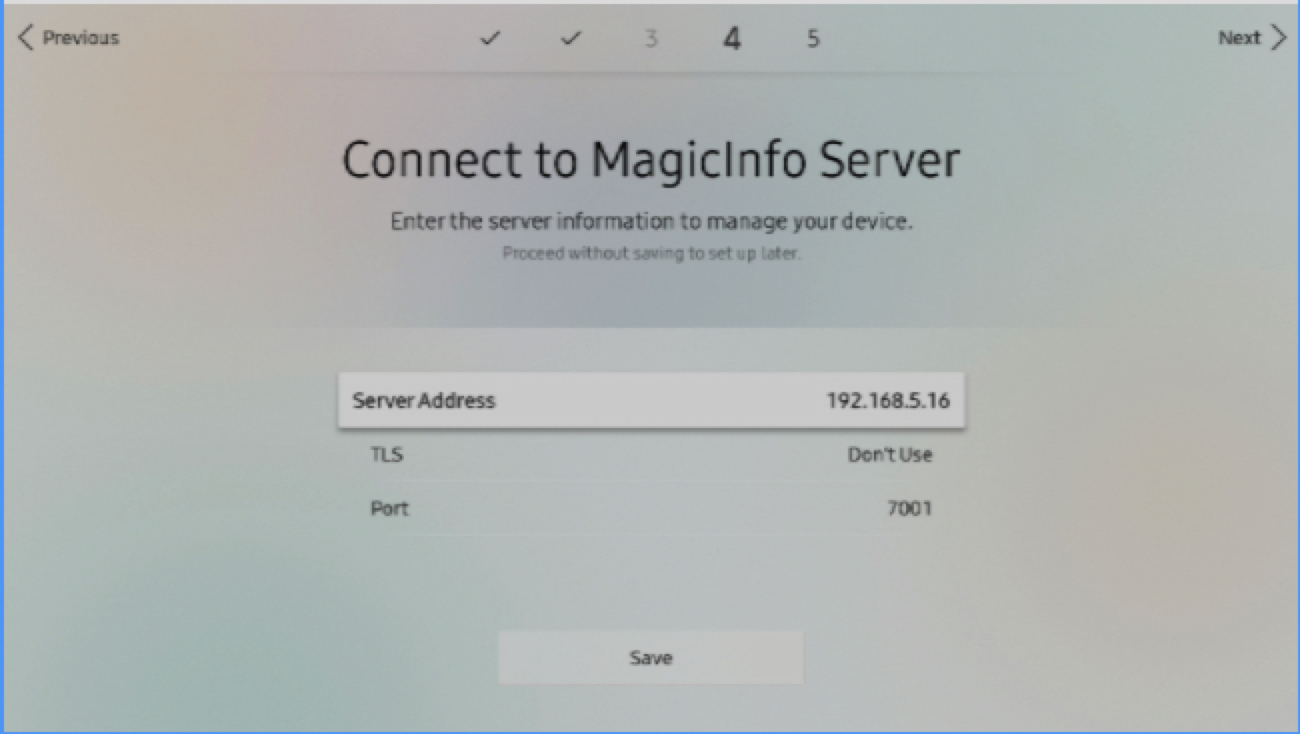
- Server Address — the IP address or hostname of your MagicINFO server.
- TLS —
Don't useby default. - Port —
7001by default.
-
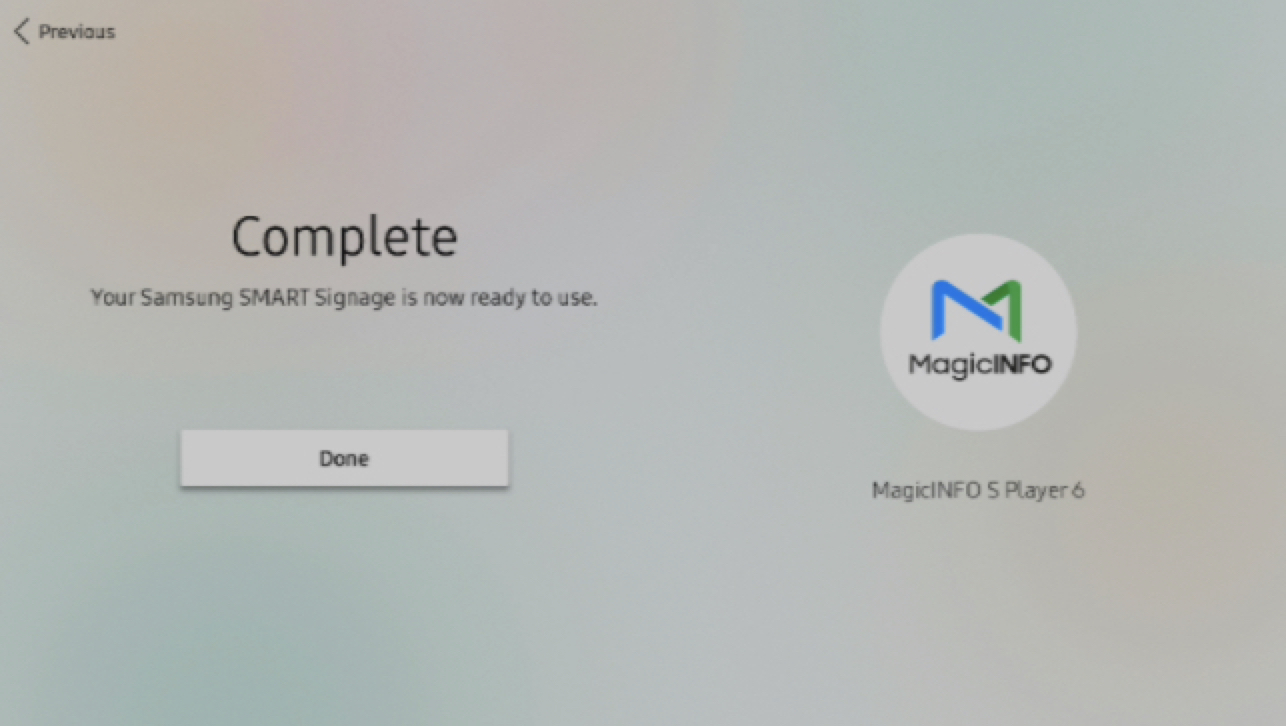
The wizard confirms that setup is complete.
-
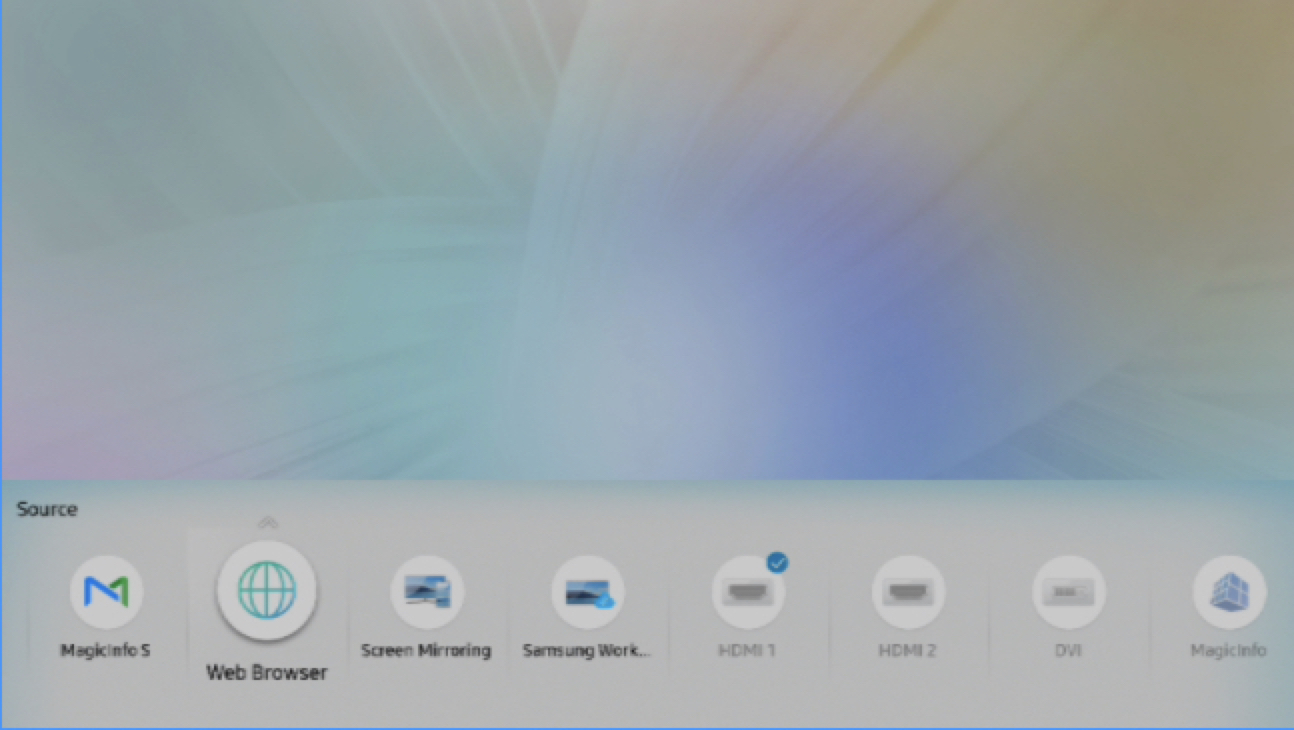
Set the input source to MagicInfo S.
Through the on-screen menu
Use this procedure on a device that has already been through initial setup.
-
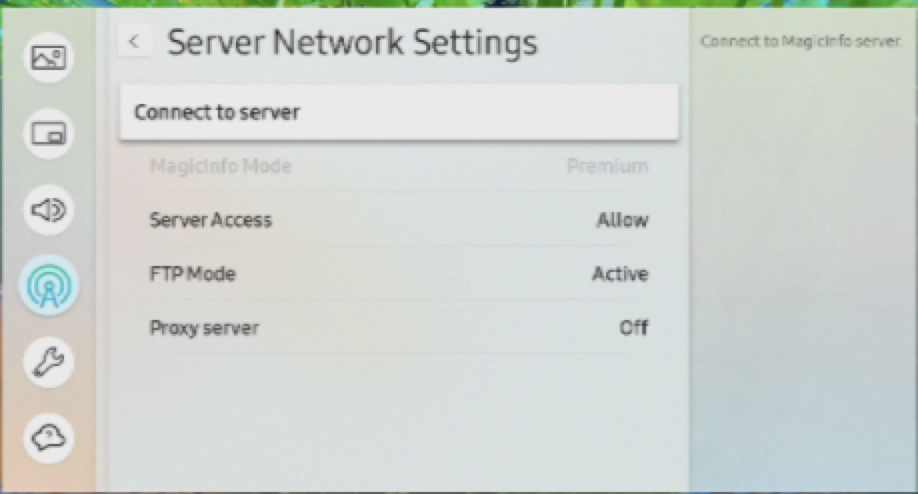
Press Menu on the remote control, then go to Network > Server Network Settings > Connect to server.
-
Fill in the connection fields:
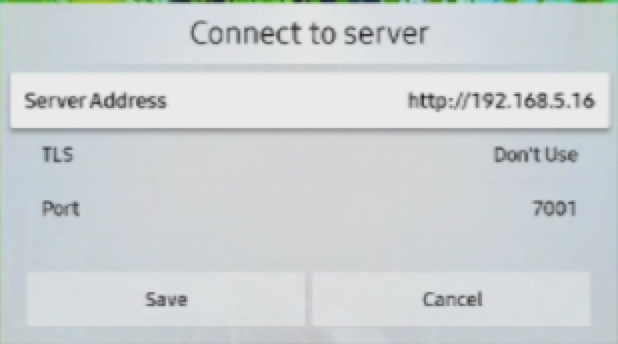
- Server Address — your server address.
- SSL —
Don't use. - Port —
7001(use7002when SSL is enabled).
-
Select Save, then press the Home button on the remote.
-
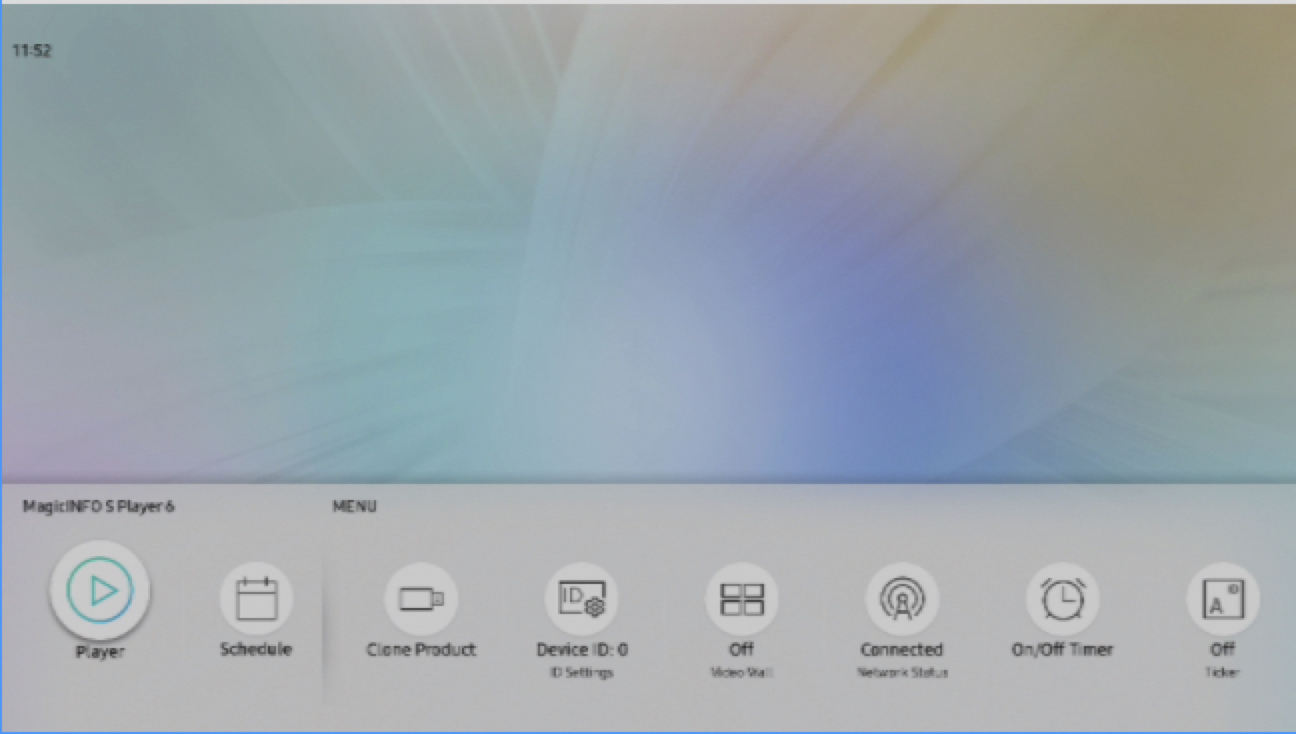
On the home screen, choose the player.
-
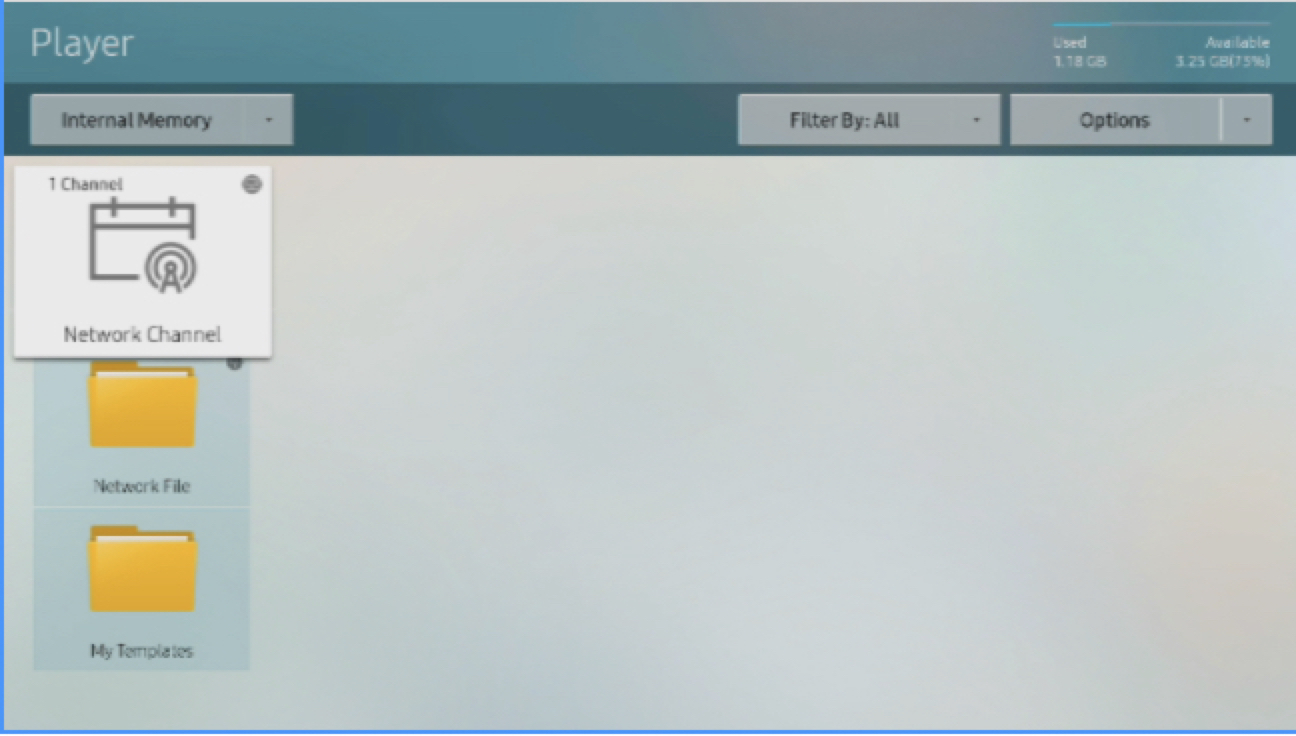
Select Network Channel. The MagicINFO player now loads.
When the device reaches the server, a Clock adjusted confirmation appears briefly in the lower-left corner of the screen.

A newly connected device is not managed automatically. It must still be approved on the server before content can be published to it — see Approve New Devices from the Unapproved List.