Configuring an event trigger
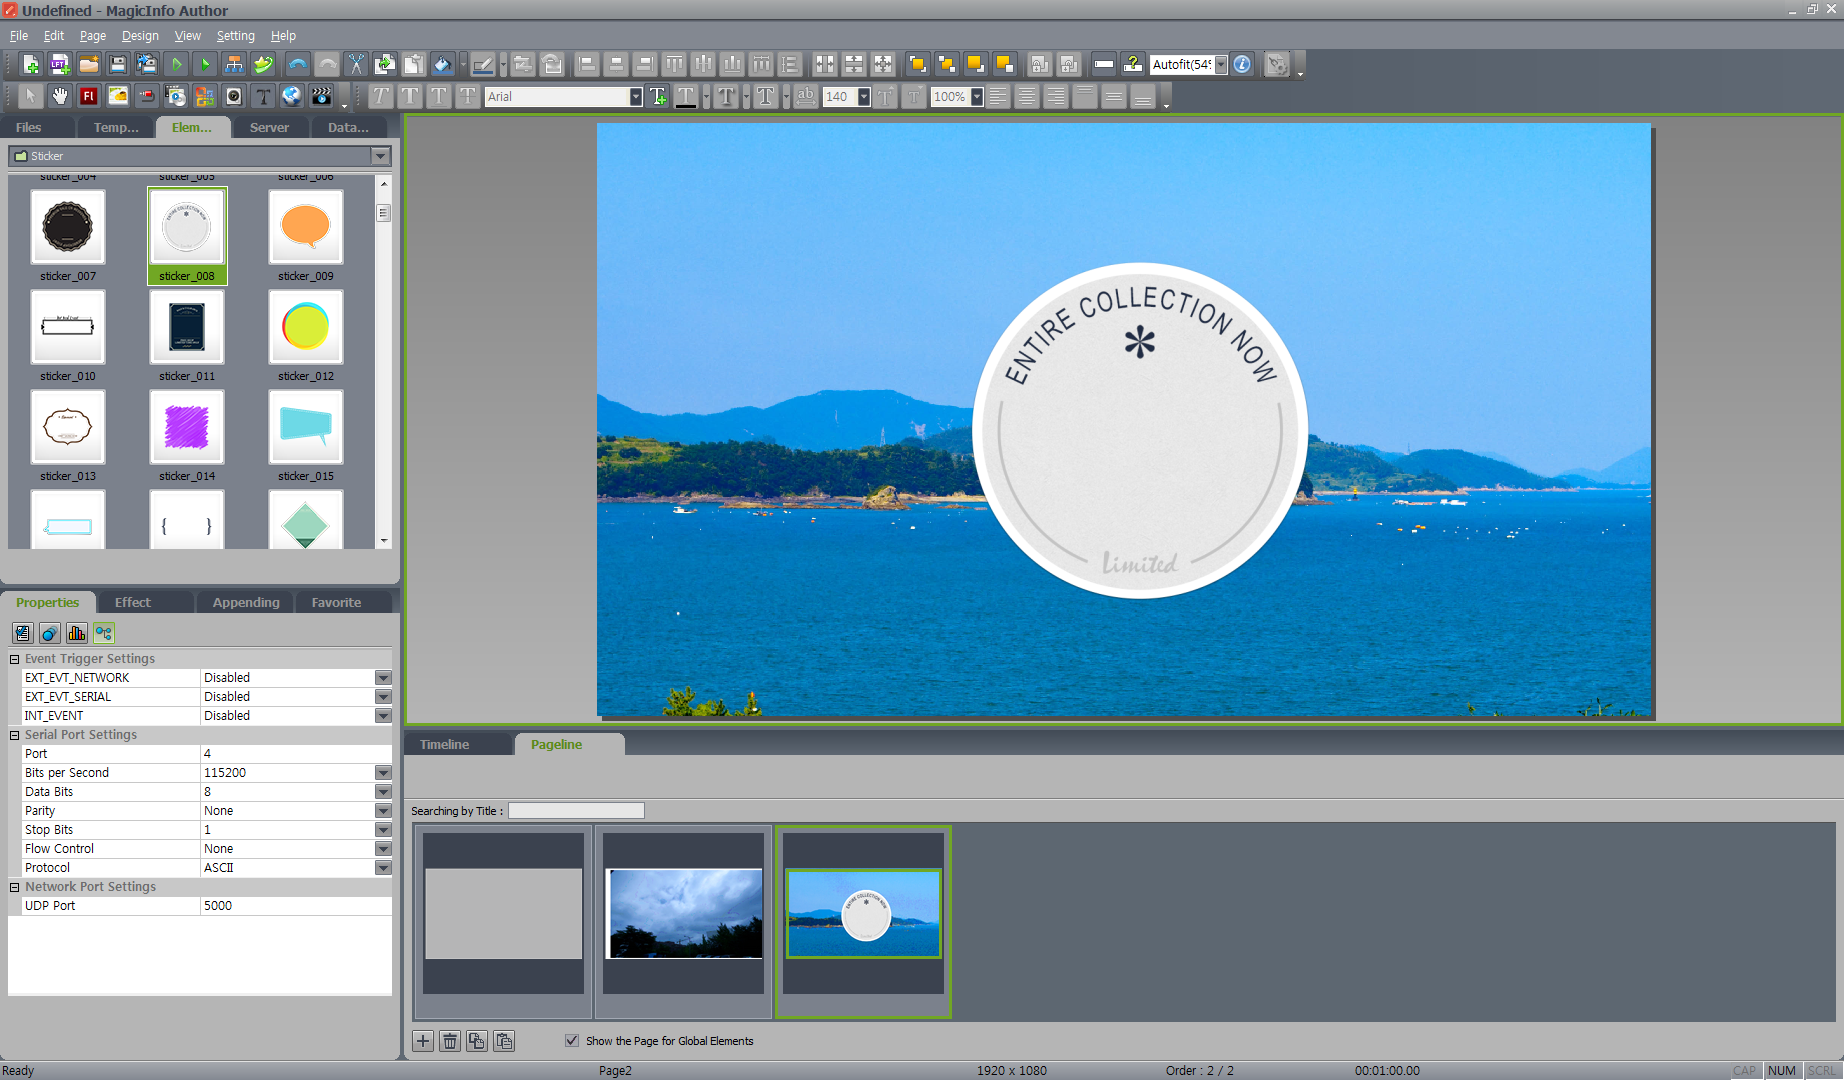
After creating content and setting up pages, configure the event trigger from the Properties tab. This procedure covers adding events, choosing where they apply, and setting the serial and network ports that deliver the external signals.
-
Add content to the page and click
 to add pages if needed.
-
Select or deselect View Global Element Page.
- Adding an event to the Global Element Page delivers the event to all pages.
- Adding an event to a specific page delivers the event while that page is being viewed.
-
Under the Properties tab, click
 . Trigger properties are displayed in the Properties tab.
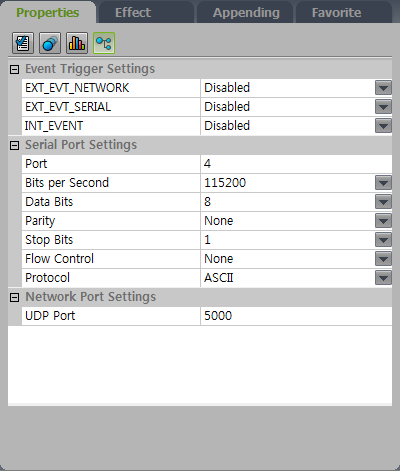
For details about the event trigger properties tab and screen configuration, see Configuring the event trigger properties tab.
-
Check Serial Port Settings and Network Port Settings.
-
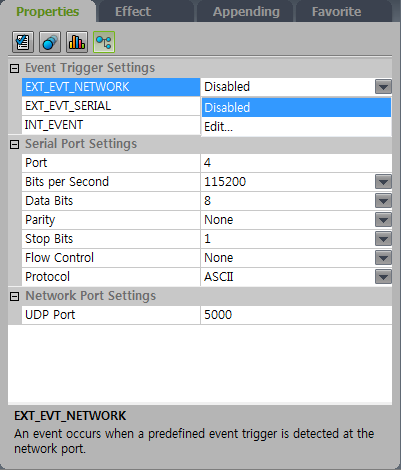
To add an external event from a network or serial port, or to add a predefined internal event, click Edit… under the relevant menu. The event editor window appears.
-
Click Add to set up the trigger, action, and page for the event, and click Save. Event settings are now configured and the event is activated.
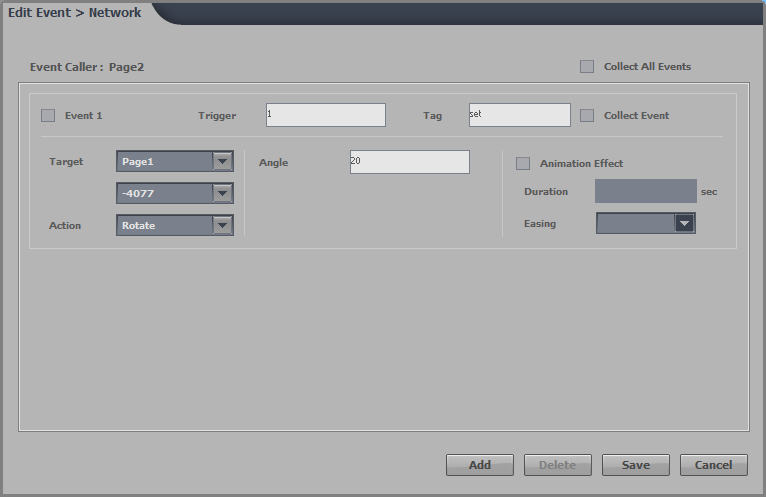
For details about the event editor, see Editing event triggers.
What's in this section
| Topic | Description |
|---|---|
| Configuring the event trigger properties tab | Activate, deactivate, or edit event triggers, and change serial and network port settings from the properties tab. |
| Editing event triggers | Use the event editor to add events, set targets and actions, apply animation effects, and delete event triggers. |